Virtual PandaBank Guide
This Guide is Still being created Check back later!
Introduction
VNC, or “Virtual Network Computing”, is a connection system that allows you to use your keyboard and mouse to interact with a graphical desktop environment on a remote server. It makes managing files, software, and settings on a remote server easier for users who are not yet comfortable with the command line.
In this guide, we will be setting up VNC on a Ubuntu 16.04 server and connecting to it securely through an SSH tunnel. The VNC server we will be using is vnc4server, a fast and lightweight remote control package. This choice will ensure that our VNC connection will be smooth and stable even on slower internet connections.
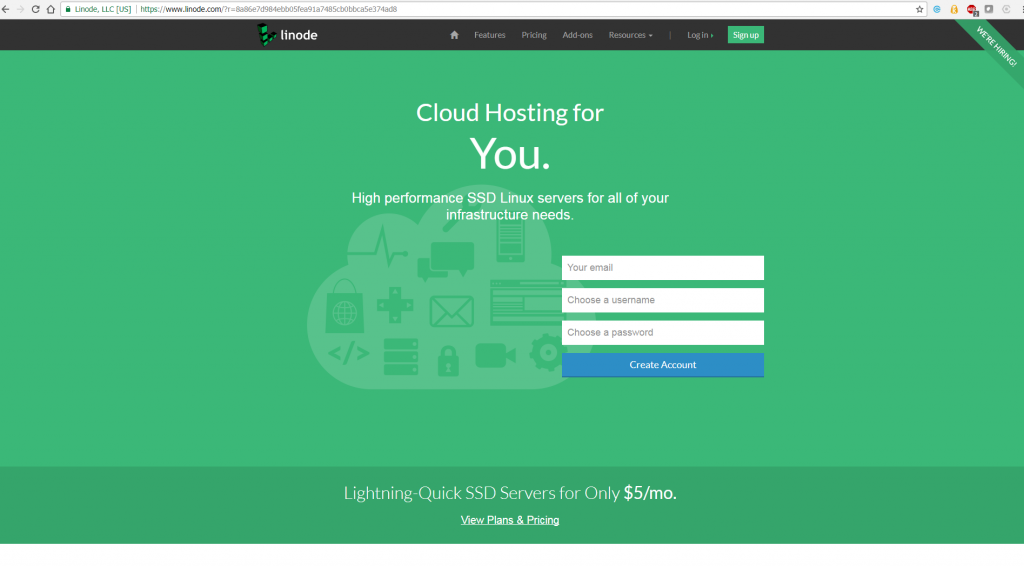
You need to sign up for a linode Account, please use our referral code 8a86e7d984ebb05fea91a7485cb0bbca5e374ad8
When you use our referral code, referrals reward us when we refer people to Linode. If someone signs up using our referral code,
we receive a credit of $20.00, so long as the person we referred remains an active customer for 90 days.
This helps us with our hosting costs for Digital Pandacoin related infrastructure.
Copy and paste or use our referral url link to get started.
https://www.linode.com/?r=8a86e7d984ebb05fea91a7485cb0bbca5e374ad8
There is a handy Getting Started with Linode Guide here and it says Use promo code DOCS10 for $10 credit on a new account.
https://www.linode.com/docs/getting-started
Prerequisites
To complete this tutorial, you’ll need:
- An Ubuntu 16.04 Droplet set up via the Ubuntu 16.04 initial server setup tutorial, which includes having a sudo non-root user
- A local computer with a VNC client installed that supports VNC connections over SSH tunnels. If you are using Windows, you could use TightVNC, RealVNC, or UltraVNC. Mac OS X users can use the built-in Screen Sharing program, or can use a cross-platform app like RealVNC. Linux users can use one of many options:
vinagre,krdc, RealVNC, TightVNC, and more.
Step 1 — Installing the Desktop Environment and VNC Server
By default, an Ubuntu 16.04 Droplet does not come with a graphical desktop environment or a VNC server installed, so we’ll begin by installing those. Specifically, we will install packages for the latest Xfce desktop environment and the TightVNC package available in the official Ubuntu repository.
On your server, install the Xfce and TightVNC packages.
- sudo apt install xfce4 xfce4-goodies vnc4server
To complete the VNC server’s initial configuration after installation, use the vncserver command to set up a secure password.
- vncserver
You’ll be promoted to enter and verify a password, and also a view-only password. Users who log in with the view-only password will not be able to control the VNC instance with their mouse or keyboard. This is a helpful option if you want to demonstrate something to other people using your VNC server, but isn’t necessary.
Running vncserver completes the installation of VNC by creating default configuration files and connection information for our server to use. With these packages installed, you are now ready to configure your VNC server.
Step 2 — Configuring the VNC Server
First, we need to tell our VNC server what commands to perform when it starts up. These commands are located in a configuration file called xstartup in the .vnc folder under your home directory. The startup script was created when you ran the vncserver in the previous step, but we need modify some of the commands for the Xfce desktop.
When VNC is first set up, it launches a default server instance on port 5901. This port is called a display port, and is referred to by VNC as :1. VNC can launch multiple instances on other display ports, like :2, :3, etc. When working with VNC servers, remember that :X is a display port that refers to 5900+X.
Because we are going to be changing how the VNC server is configured, we’ll need to first stop the VNC server instance that is running on port 5901.
- vncserver -kill :1
The output should look like this, with a different PID:
Killing Xtightvnc process ID 17648
Before we begin configuring the new xstartup file, let’s back up the original.
- mv ~/.vnc/xstartup ~/.vnc/xstartup.bak
Now create a new xstartup file with nano or your favorite text editor.
- nano ~/.vnc/xstartup
Paste these commands into the file so that they are performed automatically whenever you start or restart the VNC server, then save and close the file.
#!/bin/bash
xrdb $HOME/.Xresources
startxfce4 &
The first command in the file, xrdb $HOME/.Xresources, tells VNC’s GUI framework to read the server user’s .Xresources file. .Xresources is where a user can make changes to certain settings of the graphical desktop, like terminal colors, cursor themes, and font rendering. The second command simply tells the server to launch Xfce, which is where you will find all of the graphical software that you need to comfortably manage your server.
To ensure that the VNC server will be able to use this new startup file properly, we’ll need to grant executable privileges to it.
- sudo chmod +x ~/.vnc/xstartup
Now, restart the VNC server.
- vncserver
The server should be started with an output similar to this:
New 'X' desktop is your_server_name.com:1

Starting applications specified in /home/sammy/.vnc/xstartup
Log file is /home/sammy/.vnc/liniverse.com:1.log
Recent Comments